Tidal Accelerator streamlines your cloud migration workflow by enabling powerful bulk operations across your portfolio. You can manage multiple records at once - from assigning servers to applications in bulk, to copying values across multiple applications, and consolidating environments. These bulk operations help you maintain consistency and save time when working with large application portfolios during your migration journey.
Bulk Editing Applications, Servers and Database Instances
When working with applications, servers, or database instances, you might need to apply changes to multiple records at once. This process works the same way for all three record types, but for the purposes of this guide, we’ll work with applications.
From the “Applications” view, select the checkboxes for the records you’d like to edit. You can use the search bar to narrow down your selection by name or tag, or use advanced filtering to narrow down your search by record attribute.
For this example, say we have some new information and we’d like to update the technical lead for all applications with the tag ‘Group 1’.
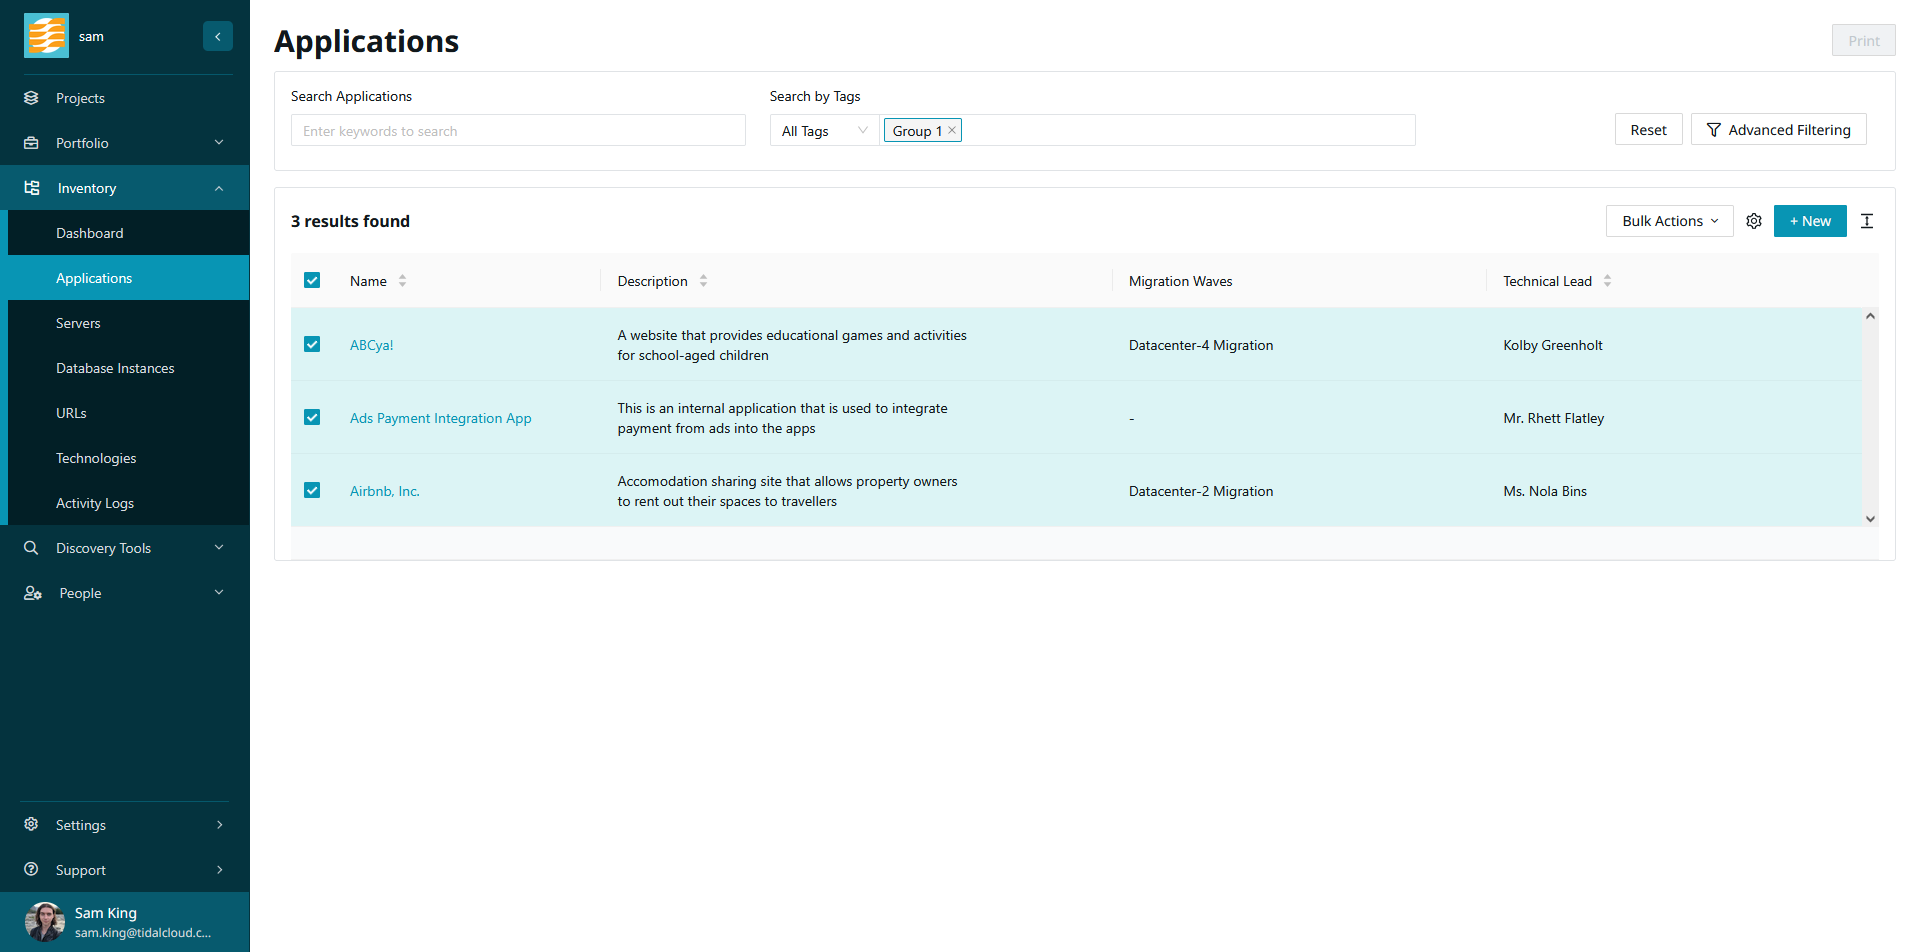
After making your selection, open the ‘Bulk Actions’ dropdown and select ‘Edit’.

In the drawer, enter the values for the field or fields that you’d like to change. For our example, we’ll set ‘Technical Lead’ to ‘Addie Stroman’.
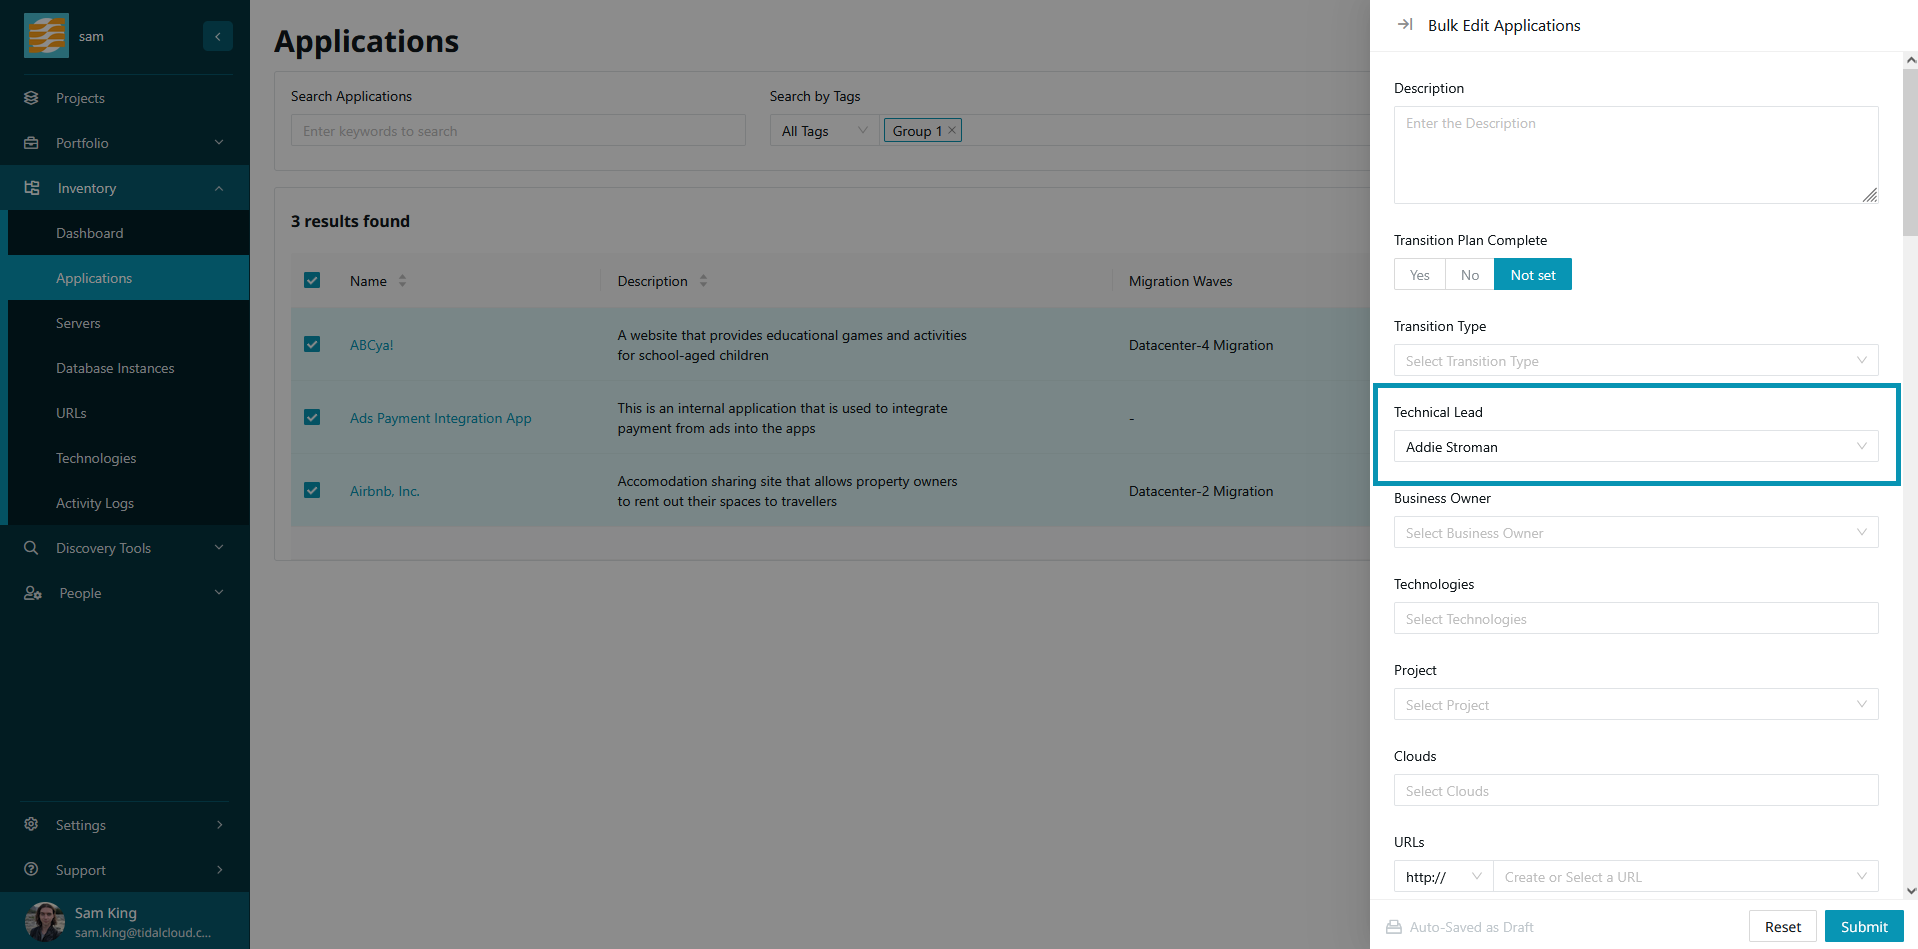
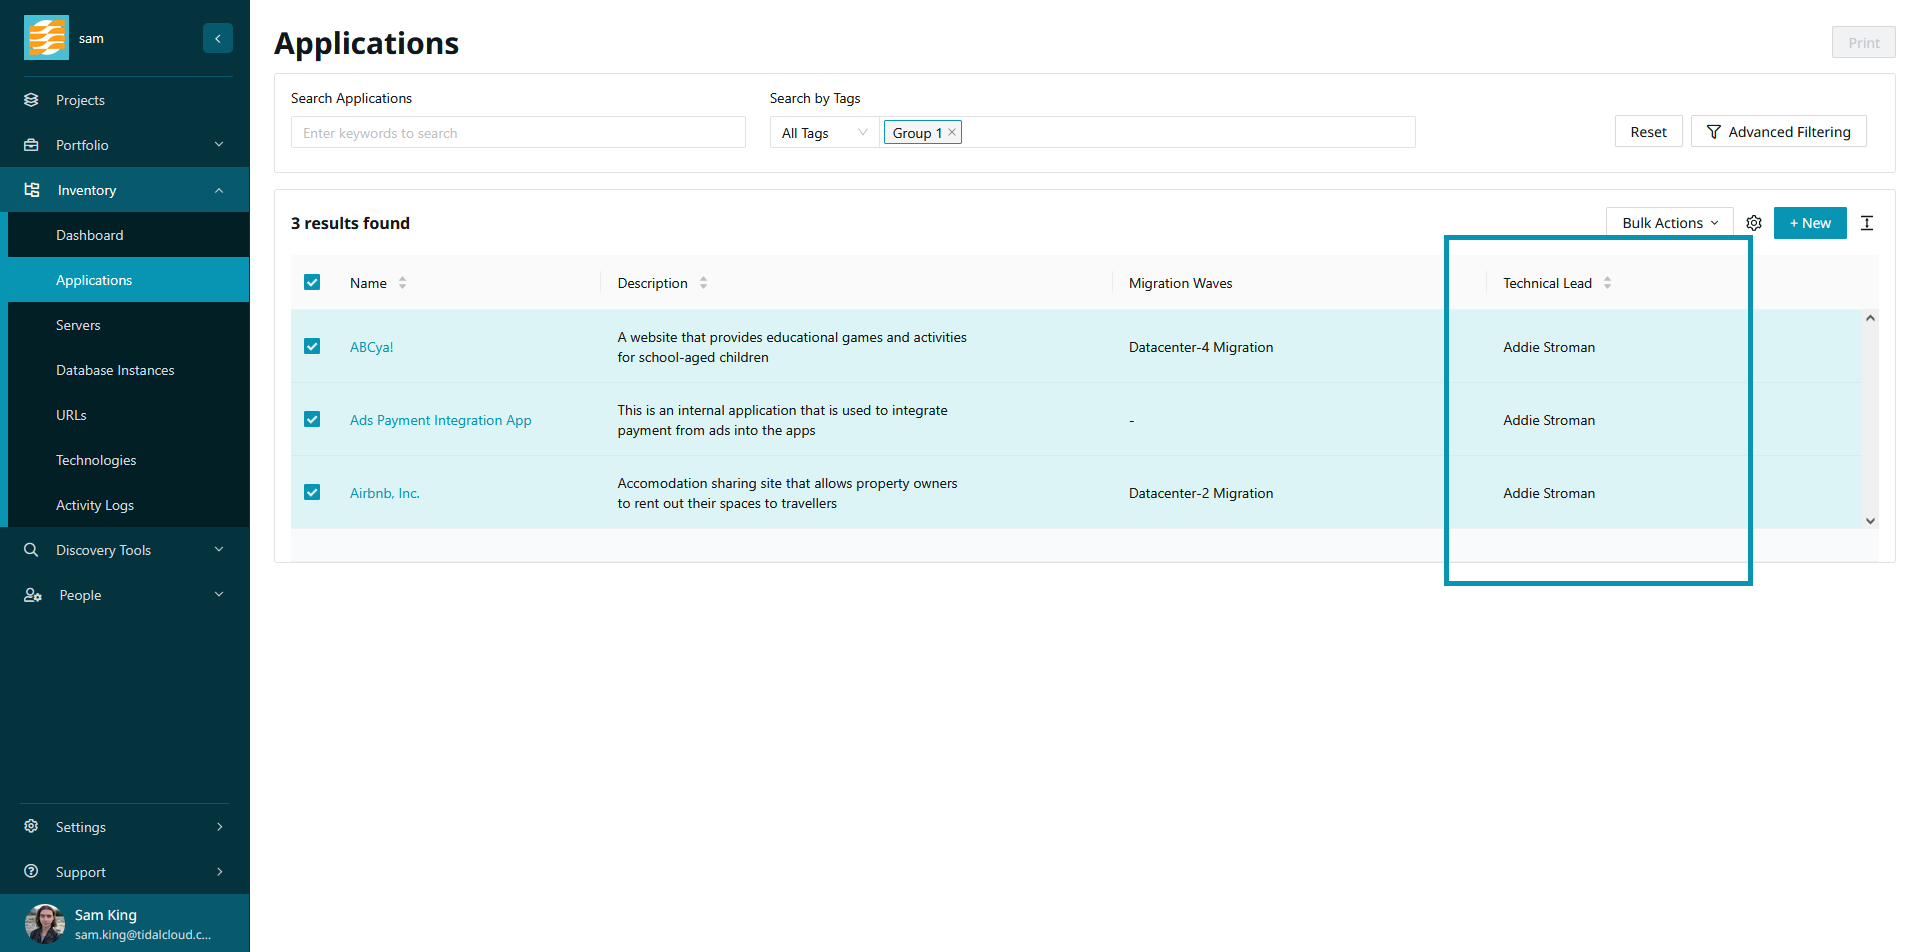
Next, click ‘Submit’, and your changes will be applied to your selected records.
Bulk Assigning Servers to an Application
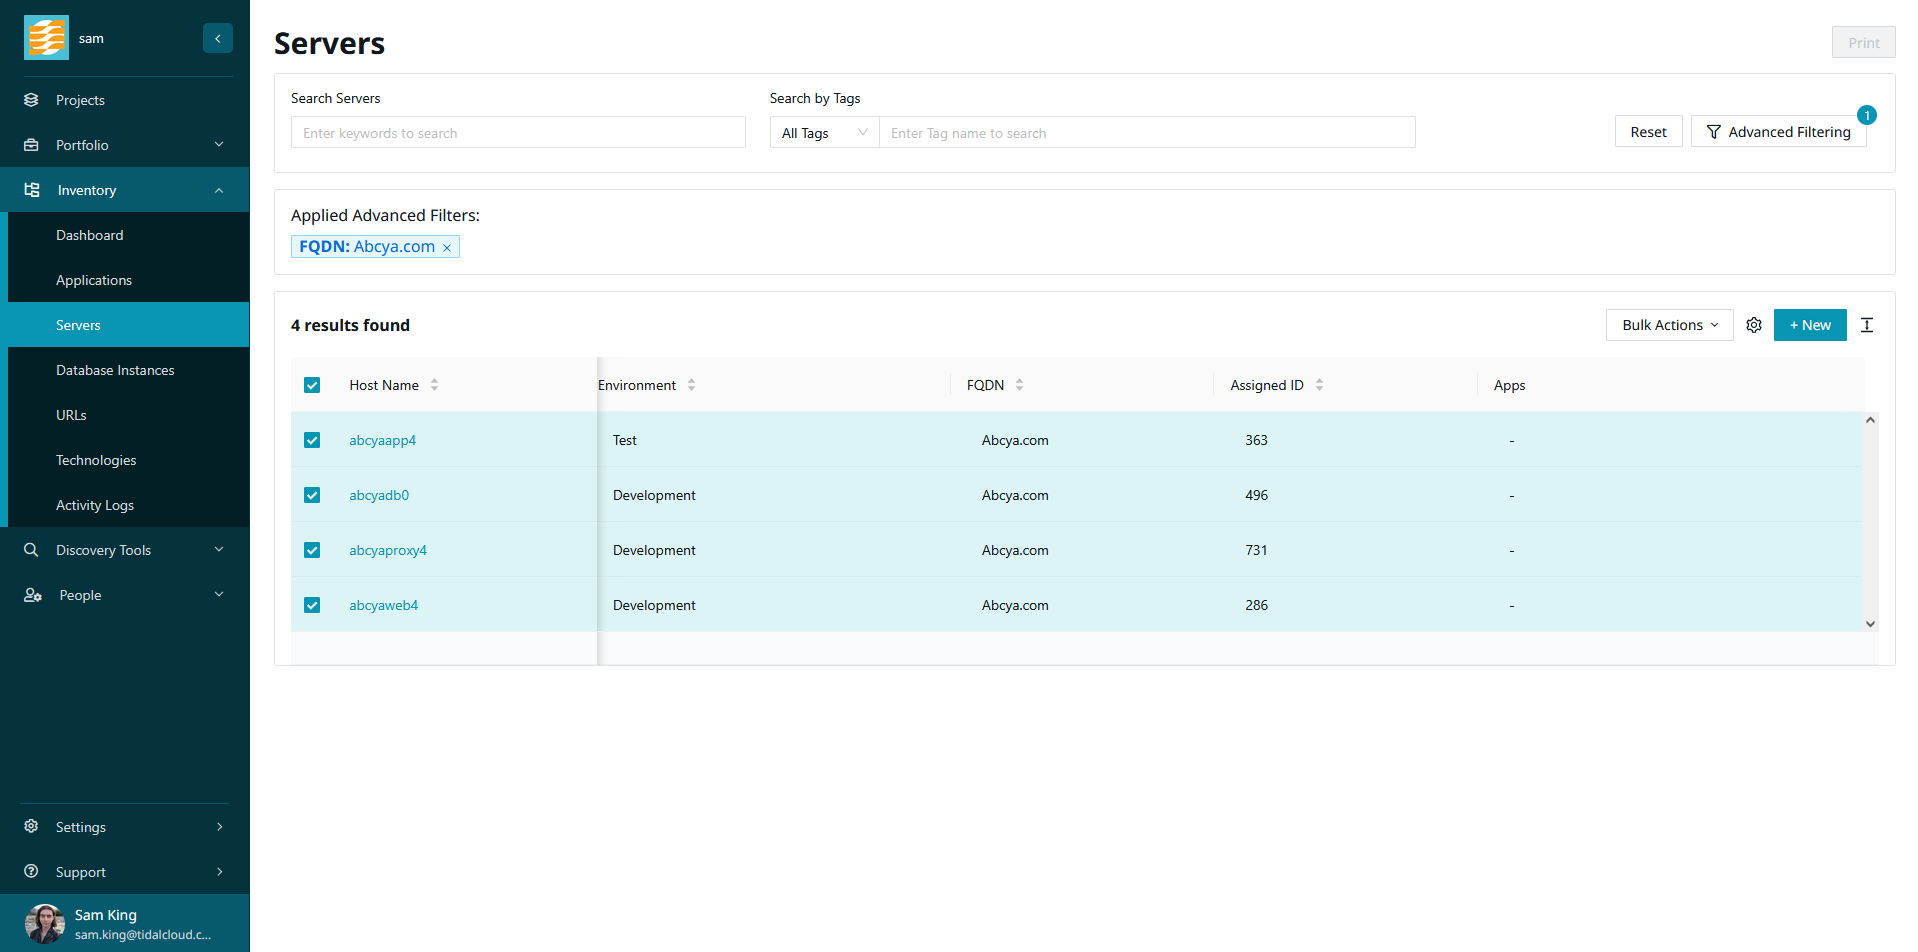
When working with servers, sometimes it’s necessary to associate many of your existing servers to an application record. For this example, we’re going to associate all servers with the fully qualified domain name (FQDN) ‘Abcya.com’ with the application named ‘ABCya!’.
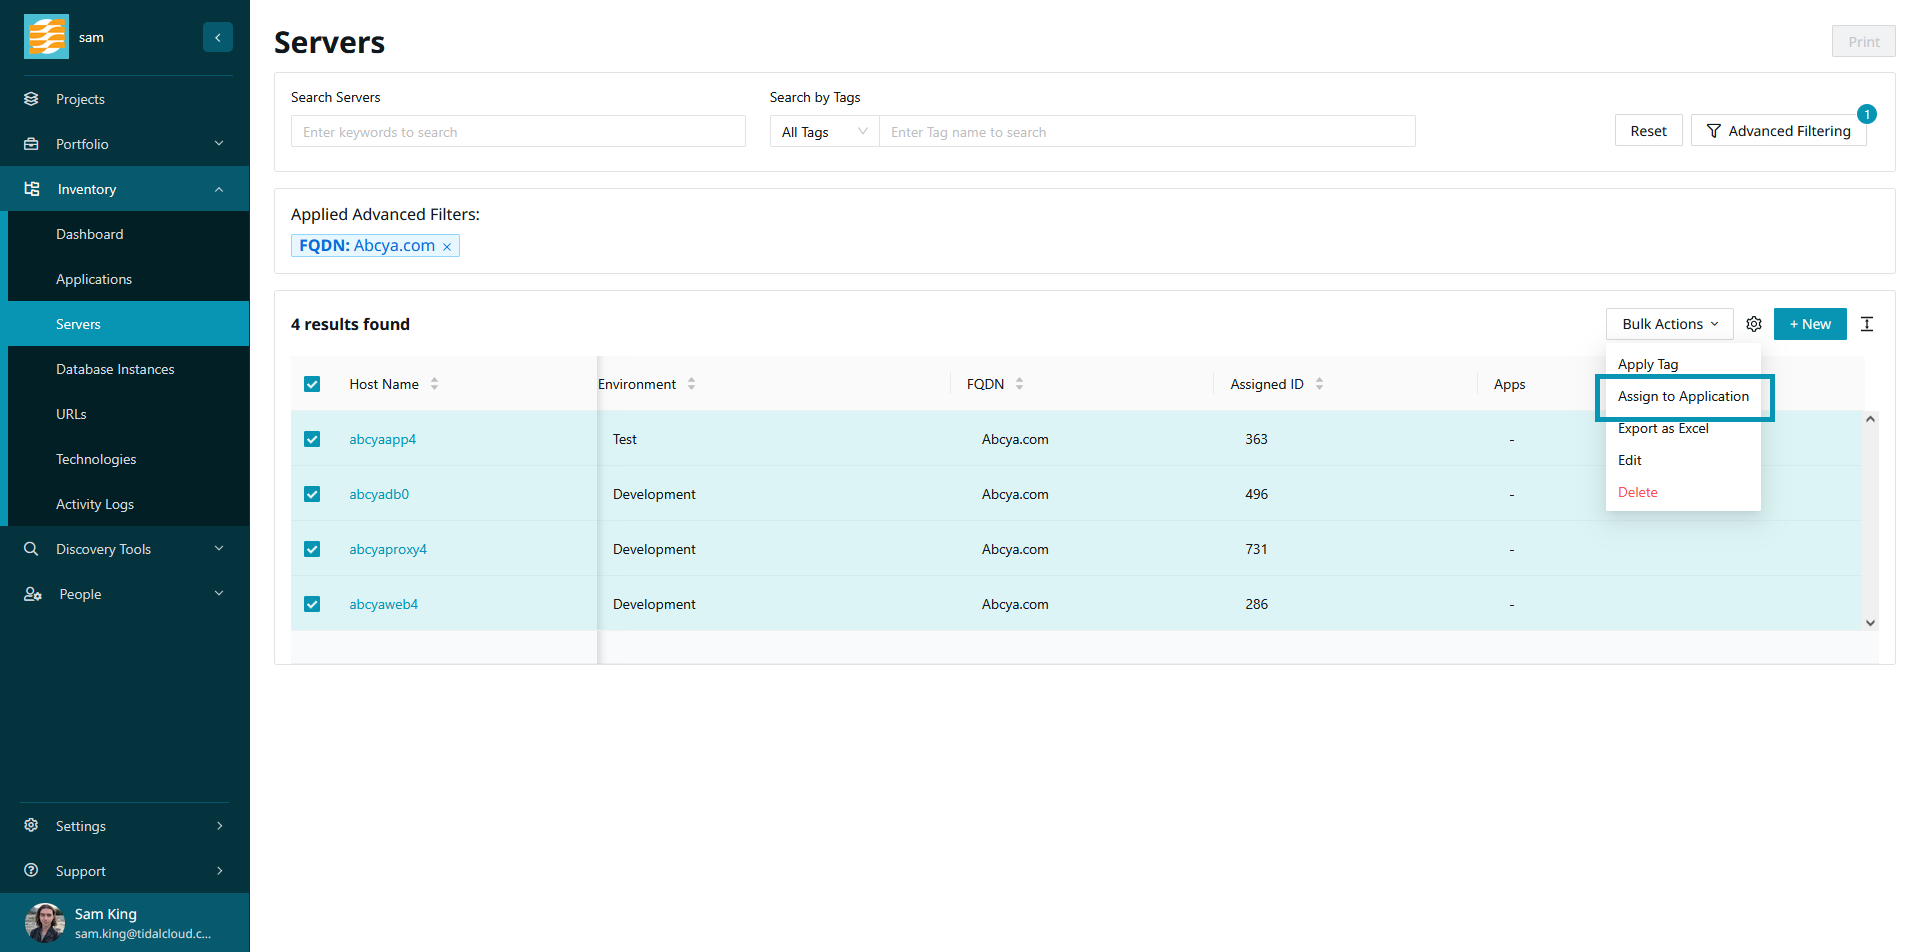
First, select the servers you’d like to assign.
Next, under the ‘Bulk Actions’ menu, click ‘Assign to Application’.
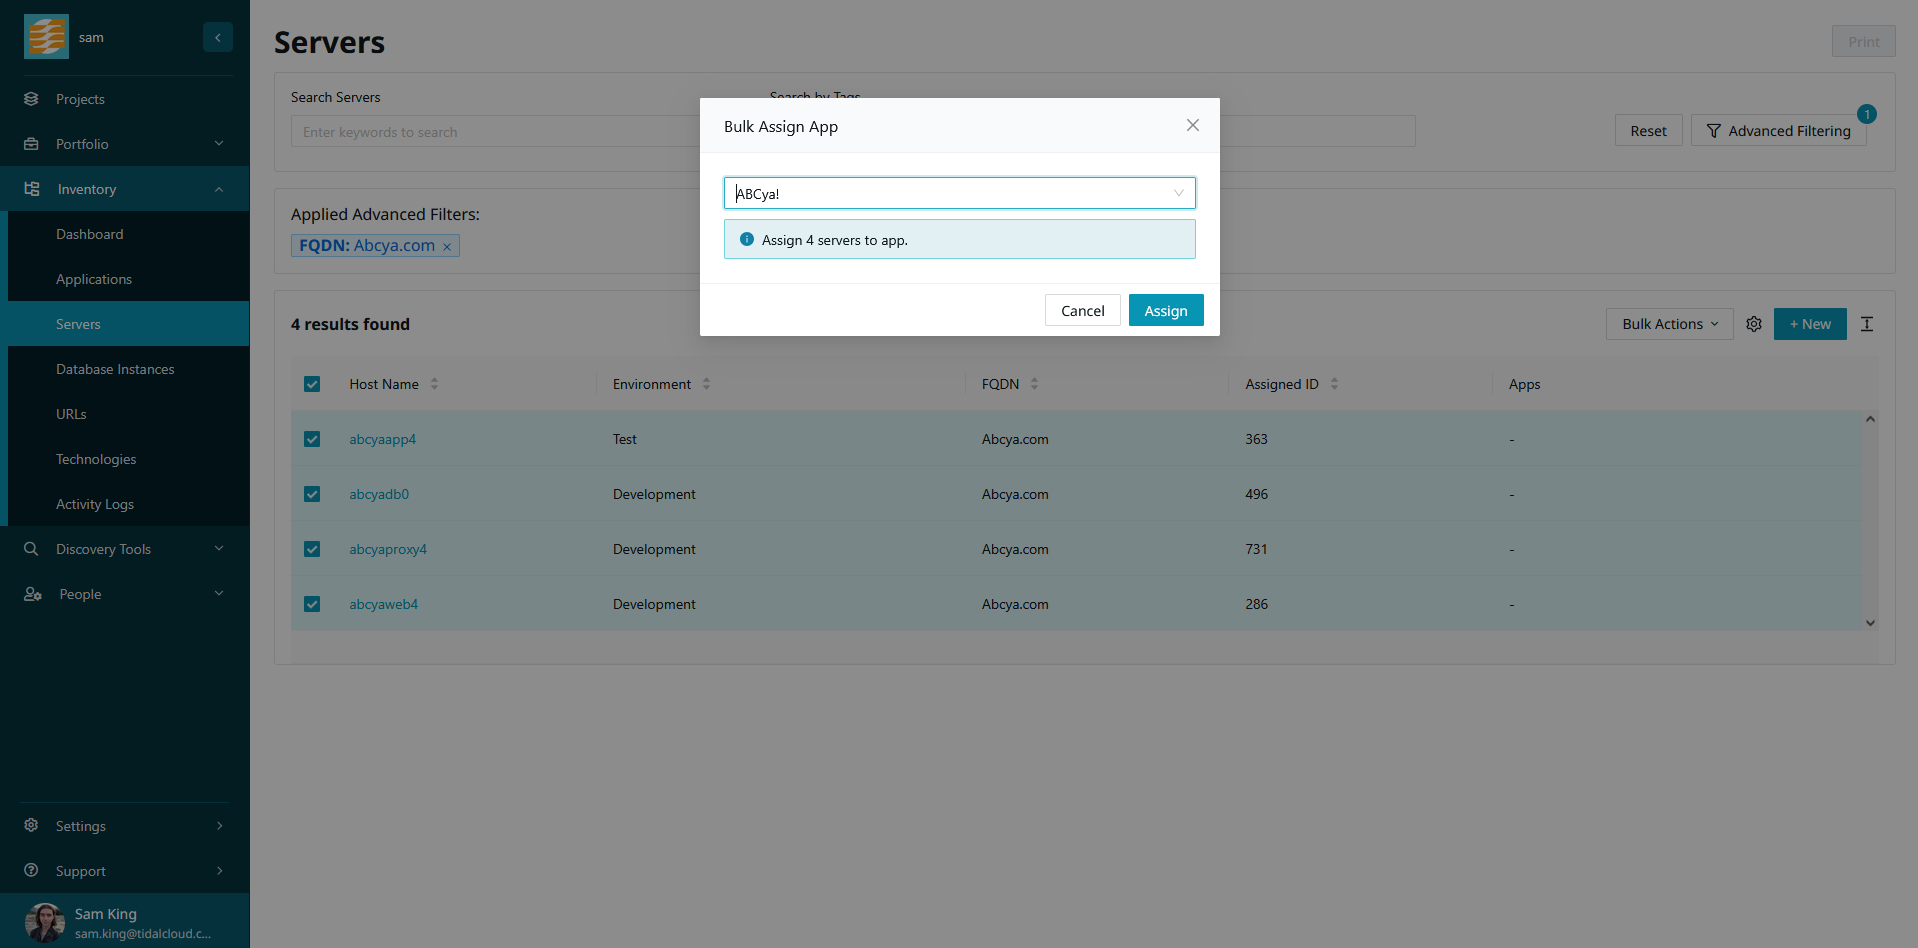
Now, select the application that you’d like to assign your selected servers to. For this example we will select ‘ABCya!’. Once you’ve selected the app, click ‘Assign’.
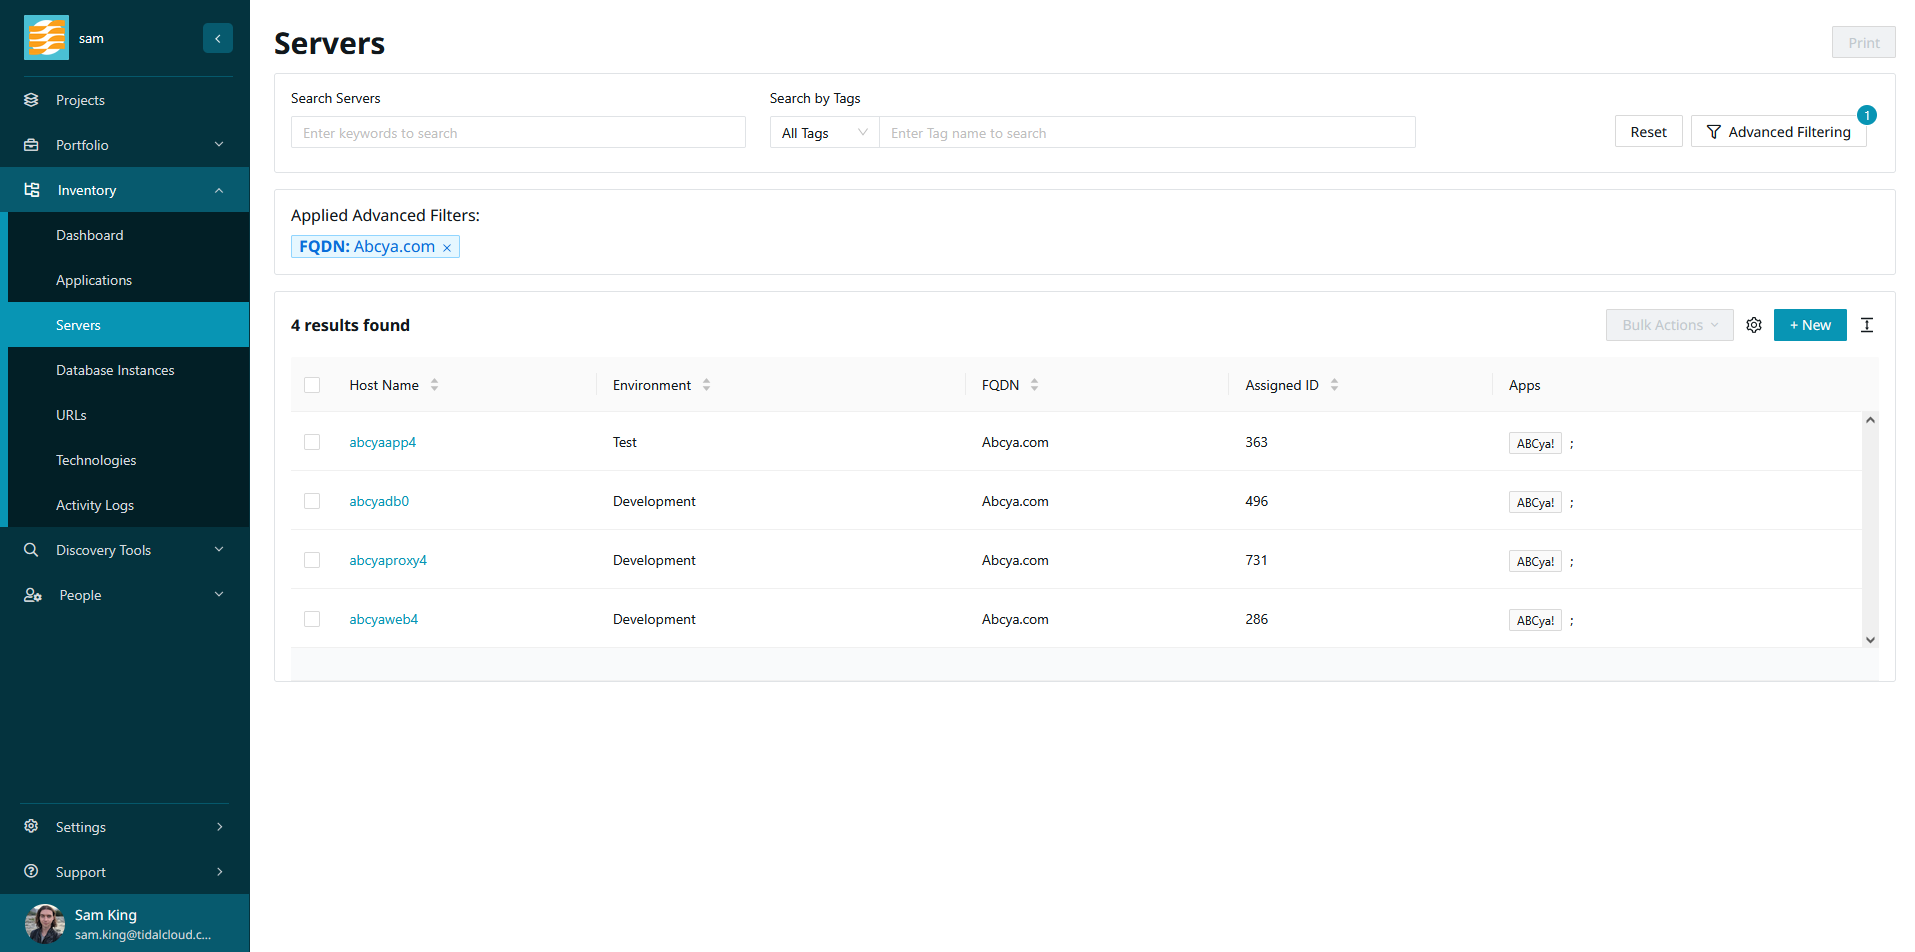
The servers will now be assigned to your selected application.
Copy Values Across Applications
In Tidal Accelerator, it’s considered best practice to model the same application in different environments as separate application records. This is because separate instances of an application in different environments can have different needs when it comes to planning a migration. For example, an application running in a development environment has different uptime requirements, resources, and dependencies than that same application running in your production environment.
However, these separate application records also share many of the same attributes, and it can be time consuming to enter the same data for each application record.
To this end, you can copy values from an application to other instances of that application. We determine the other instances as application records with the same name but different environments.
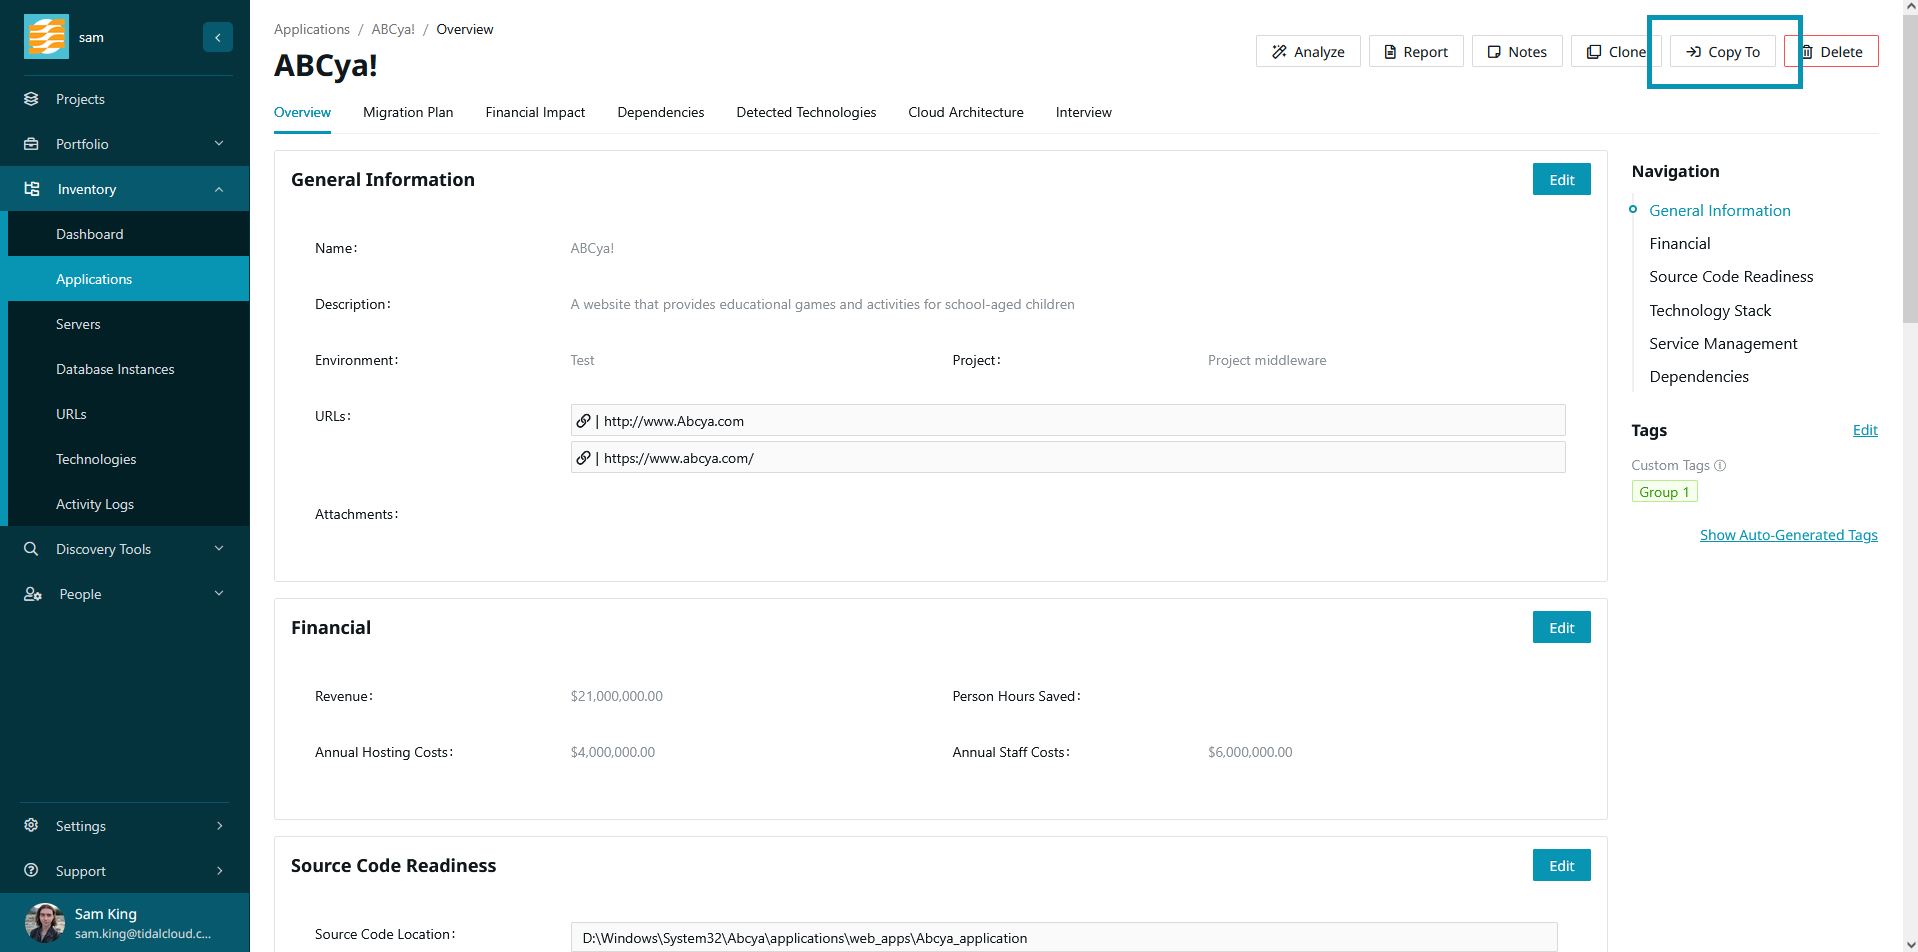
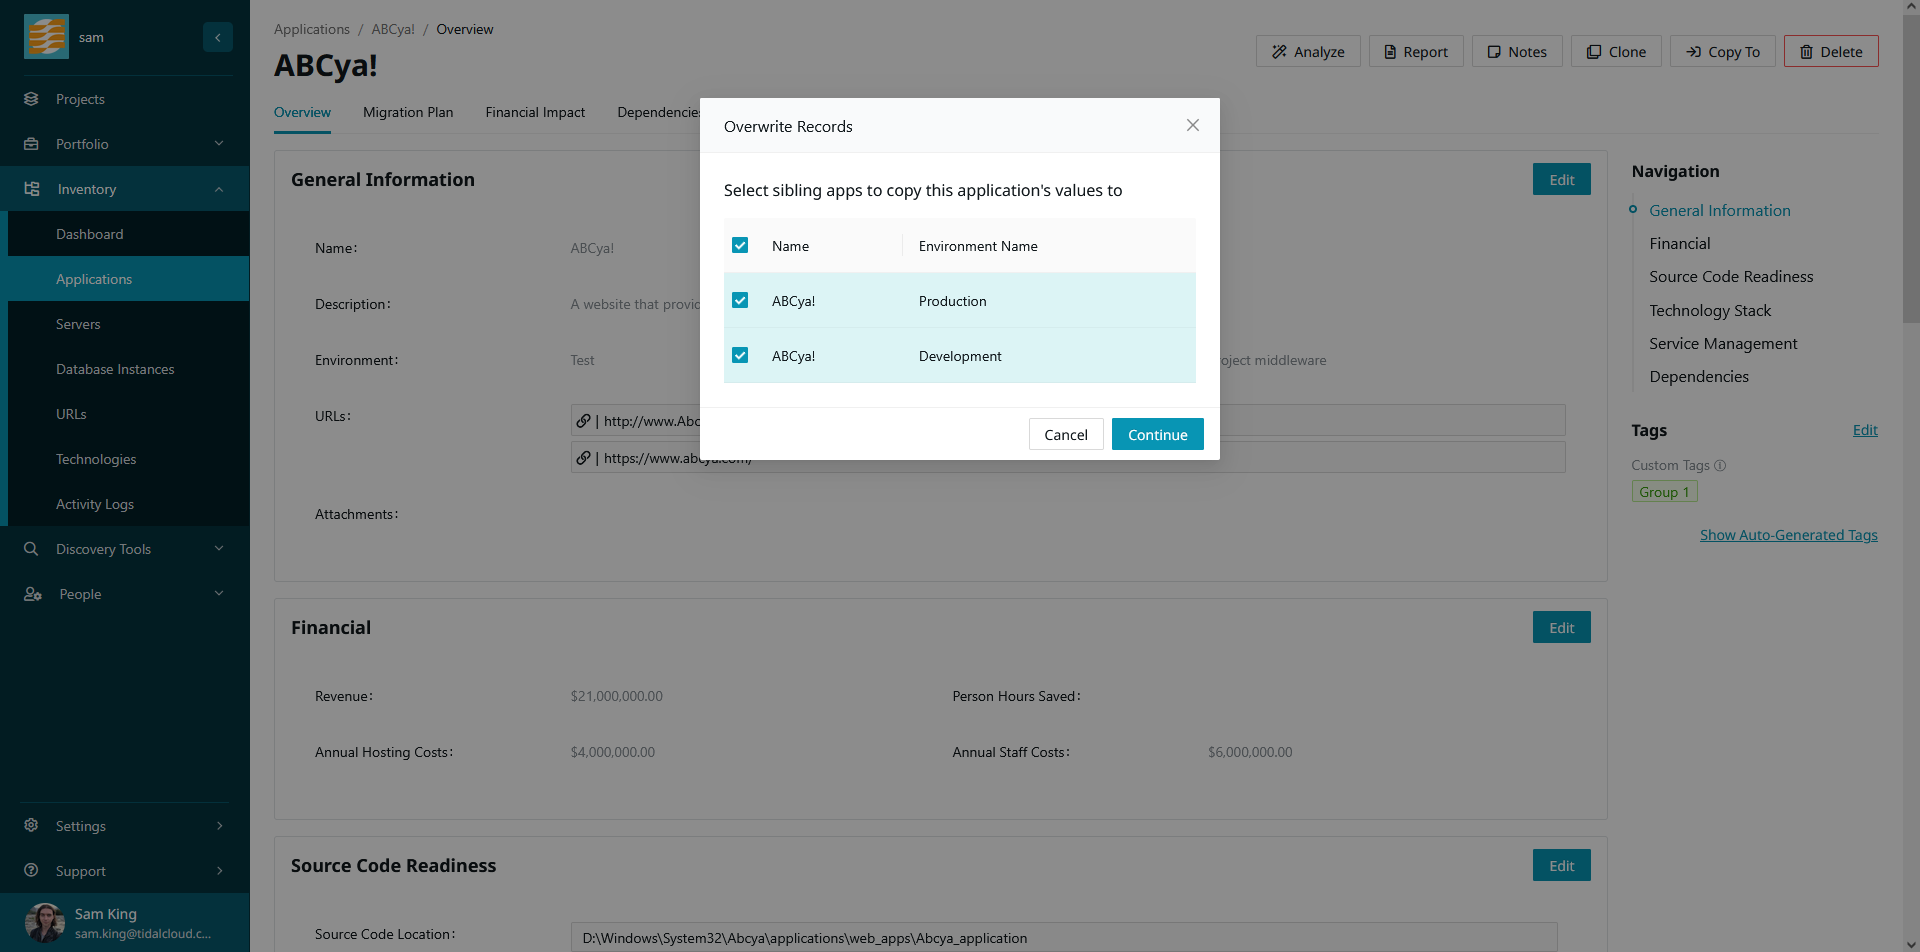
For our example, say we have an application ‘ABCya!’, with all of its relevant data captured. We also have two other instances of this application in different environments that we want to copy some of this data to. First, from the application record page, click ‘Copy To’.
Next, you will be shown a list of applications to copy the values to. Select the application records and click ‘Continue’.
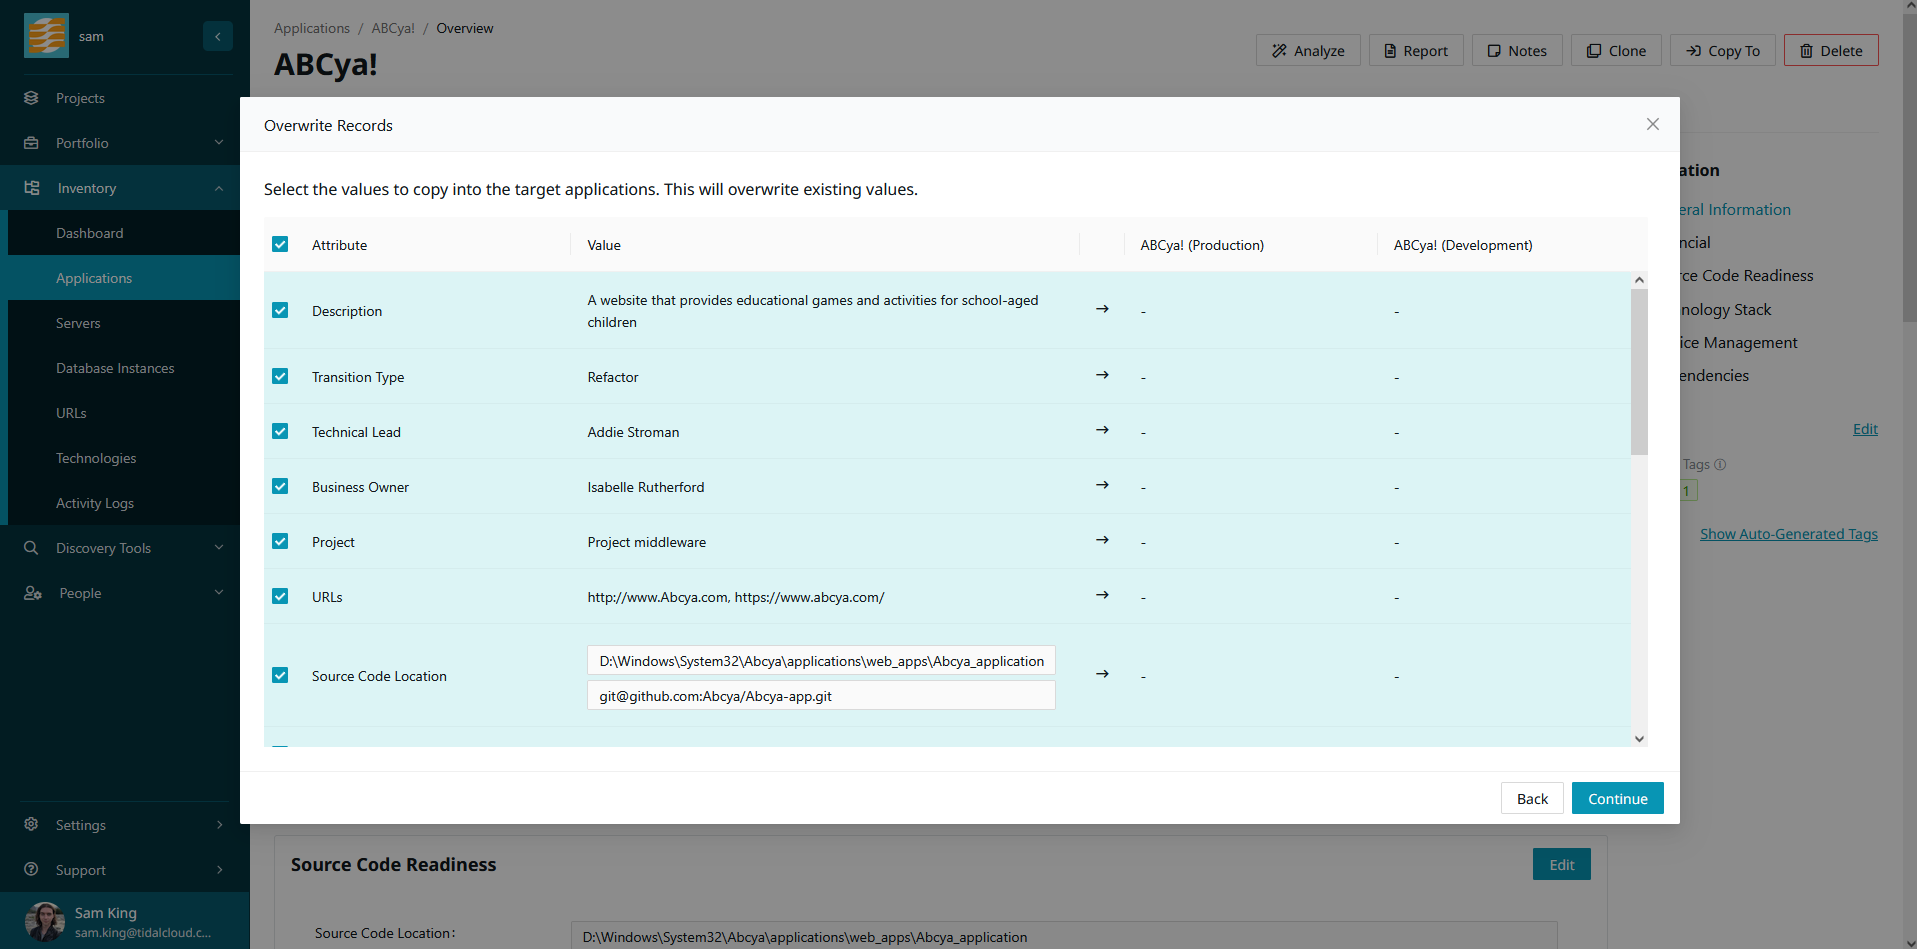
Now you will be shown a list of the application values to copy over. These are presented alongside the existing values of your selected target applications, if present. Select any of the values that you’d like to copy over and click ‘Continue’.
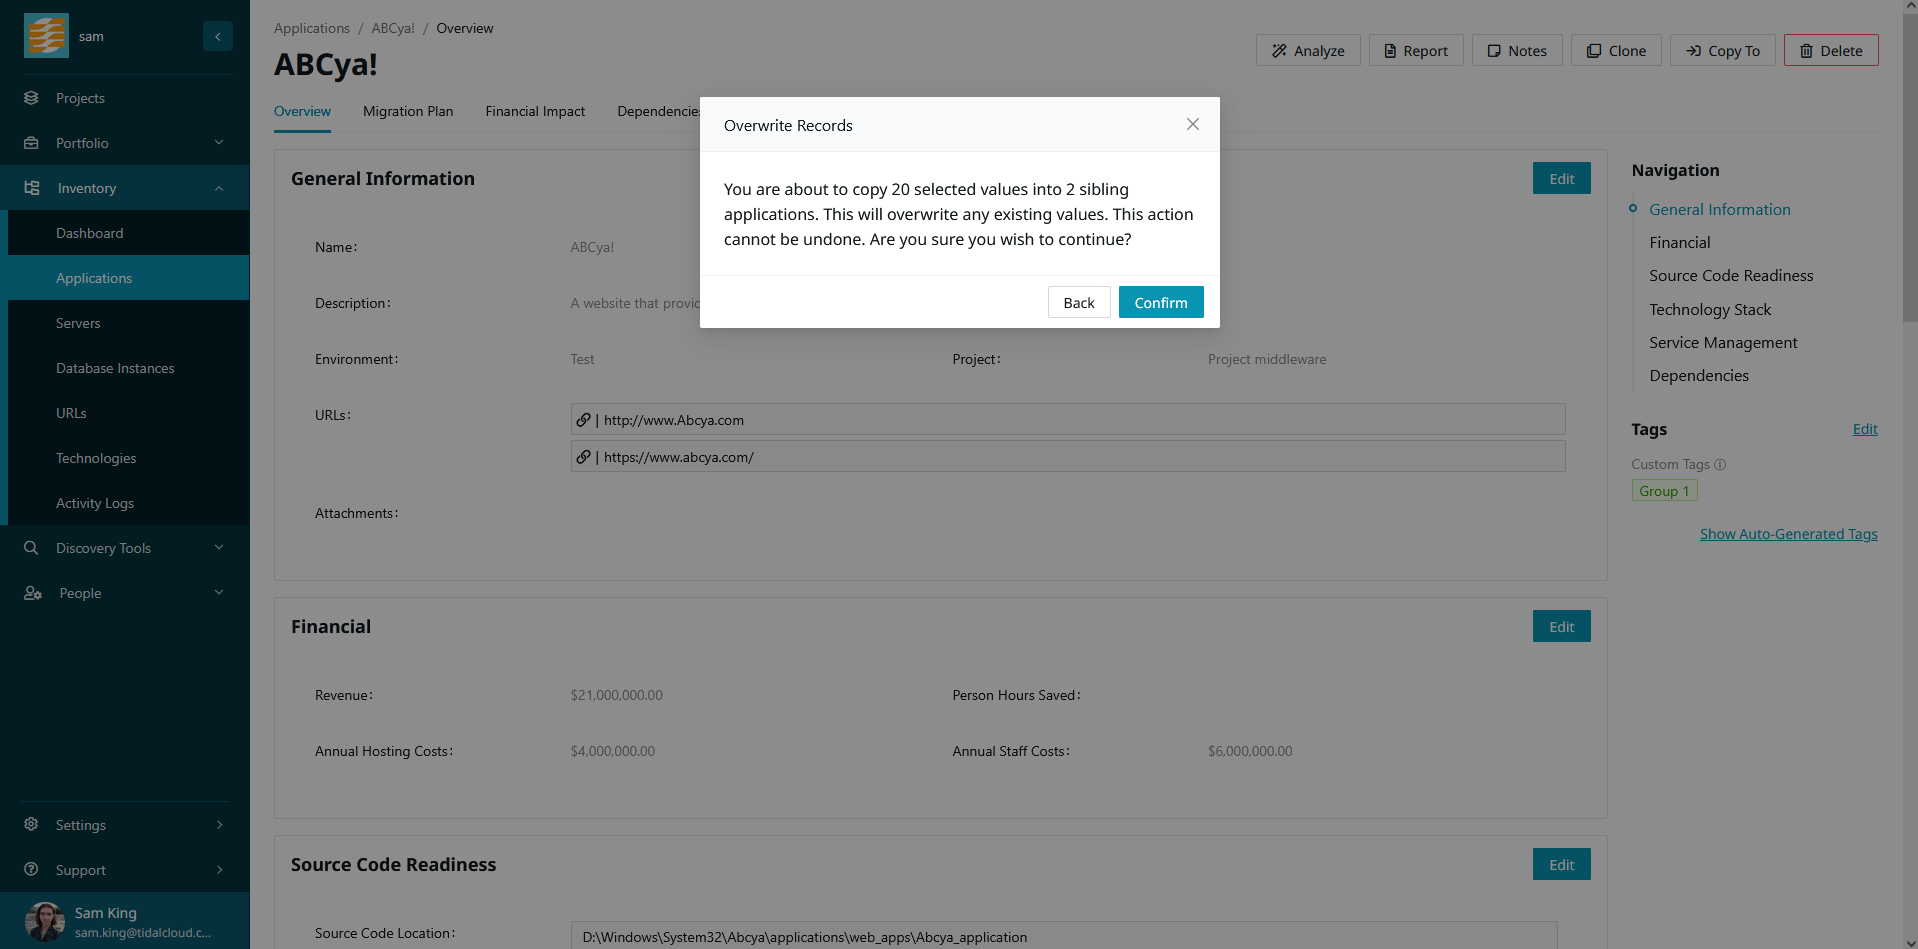
You will be shown a confirmation message explaining what you’re about to do, and how many records it will affect. If you are satisfied, click ‘Confirm’.
The selected values will now be copied to the selected applications.
Merge Environments
Life is rarely perfect, and the spreadsheet inventory that you will get from your clients will have several environments with different names, which represent the same environment. For example you might have an environment named ‘Production’, and an environment named ‘Prod’, and you’d like to merge these environments together.
By merging ‘Prod’ into ‘Production’, all of the applications, servers, and database instances that were in the ‘Prod’ environment will be placed in the ‘Production’ environment, and the ‘Prod’ environment will be deleted.
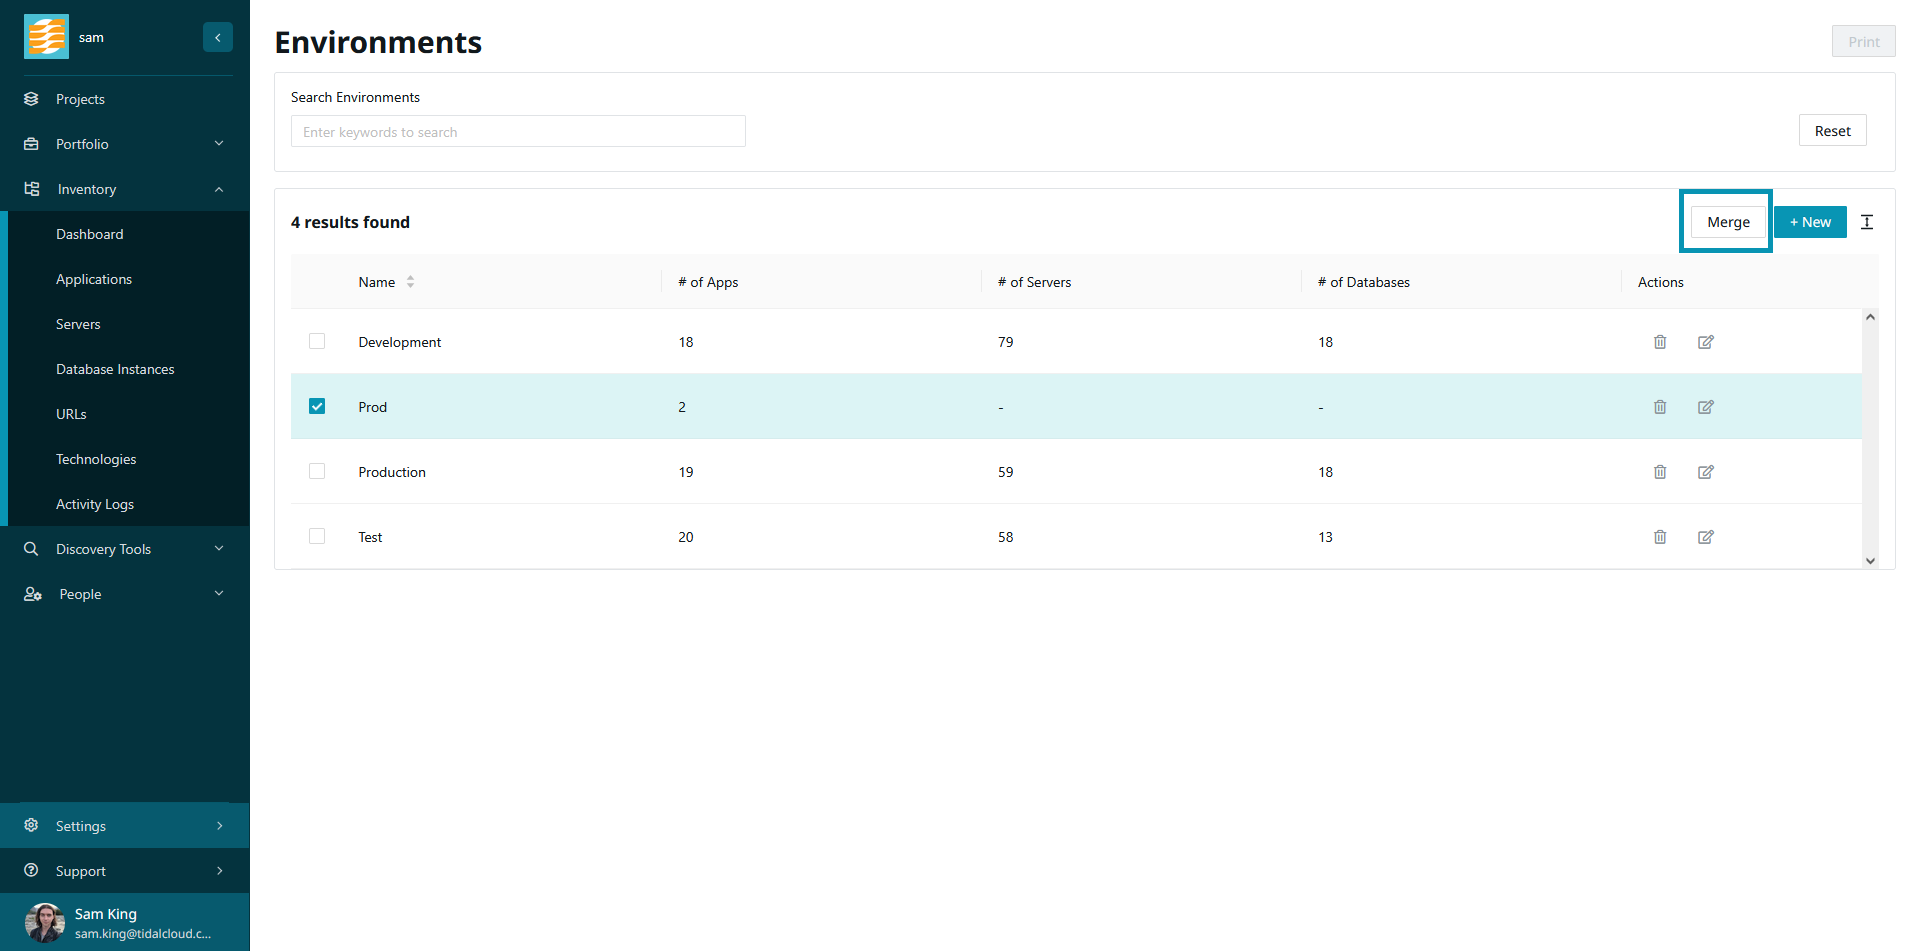
To begin, navigate to the environments page.
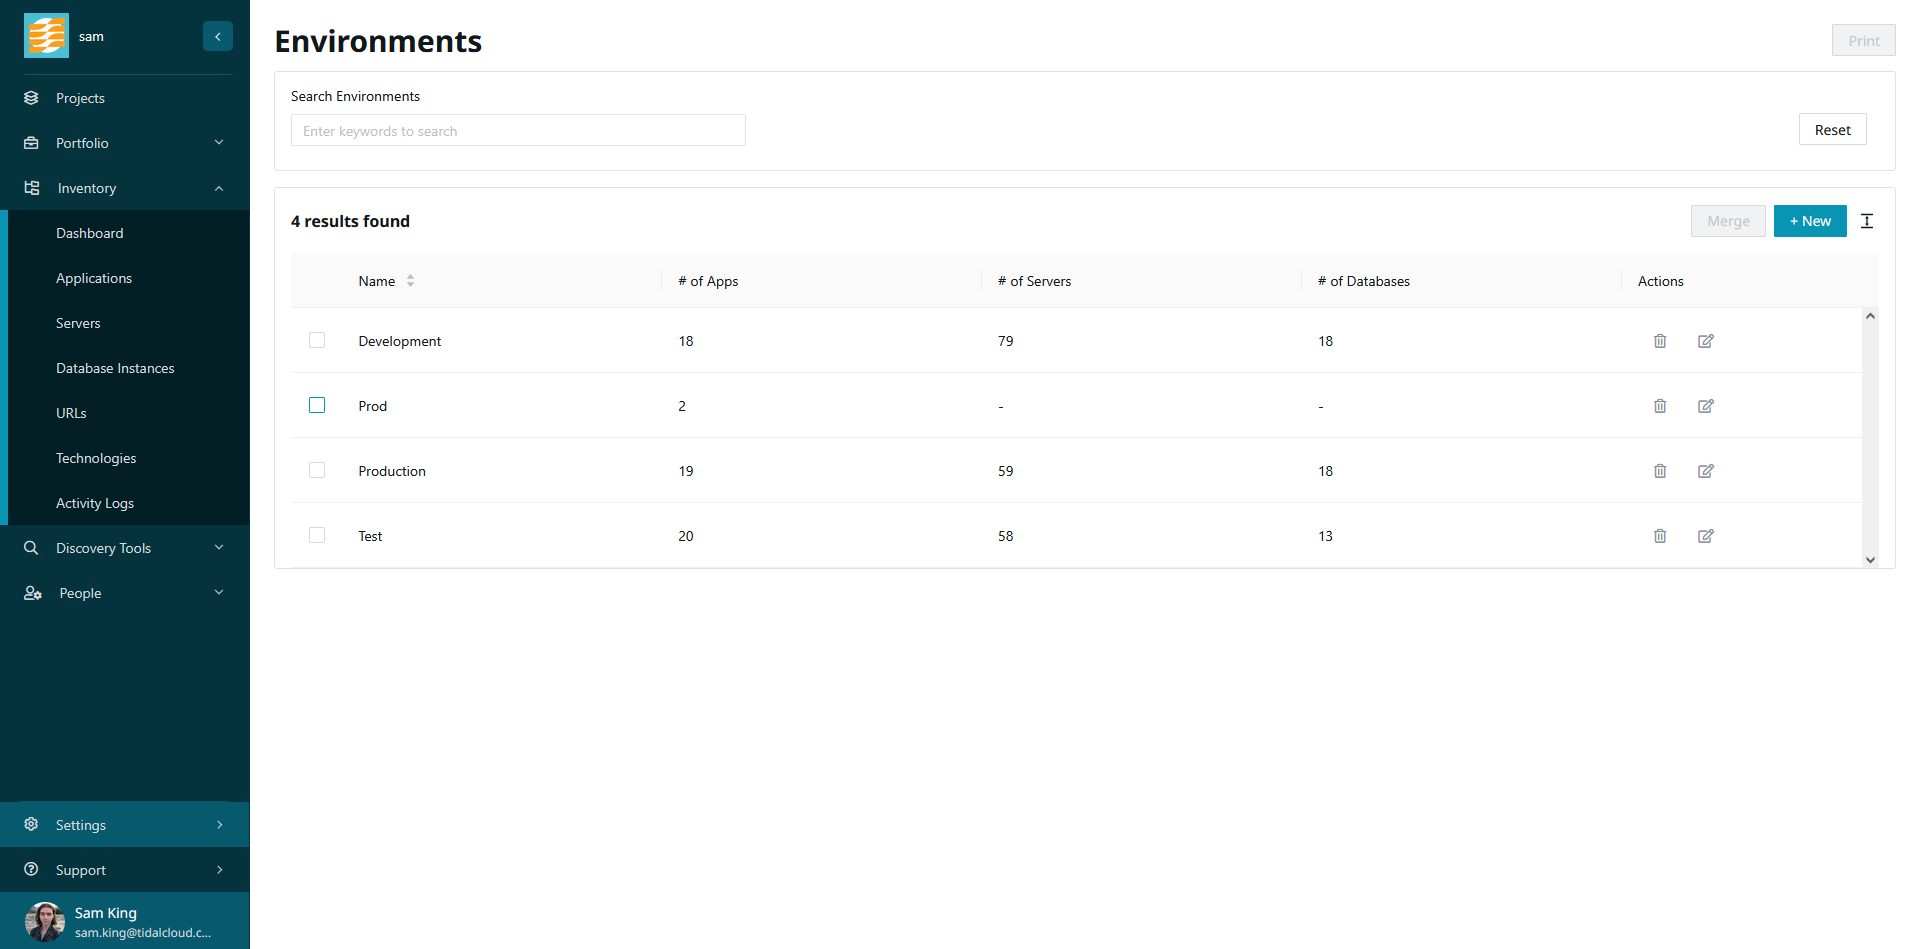
Select the environment that you would like to merge. For our example, we will select ‘Prod’, then click ‘Merge’.
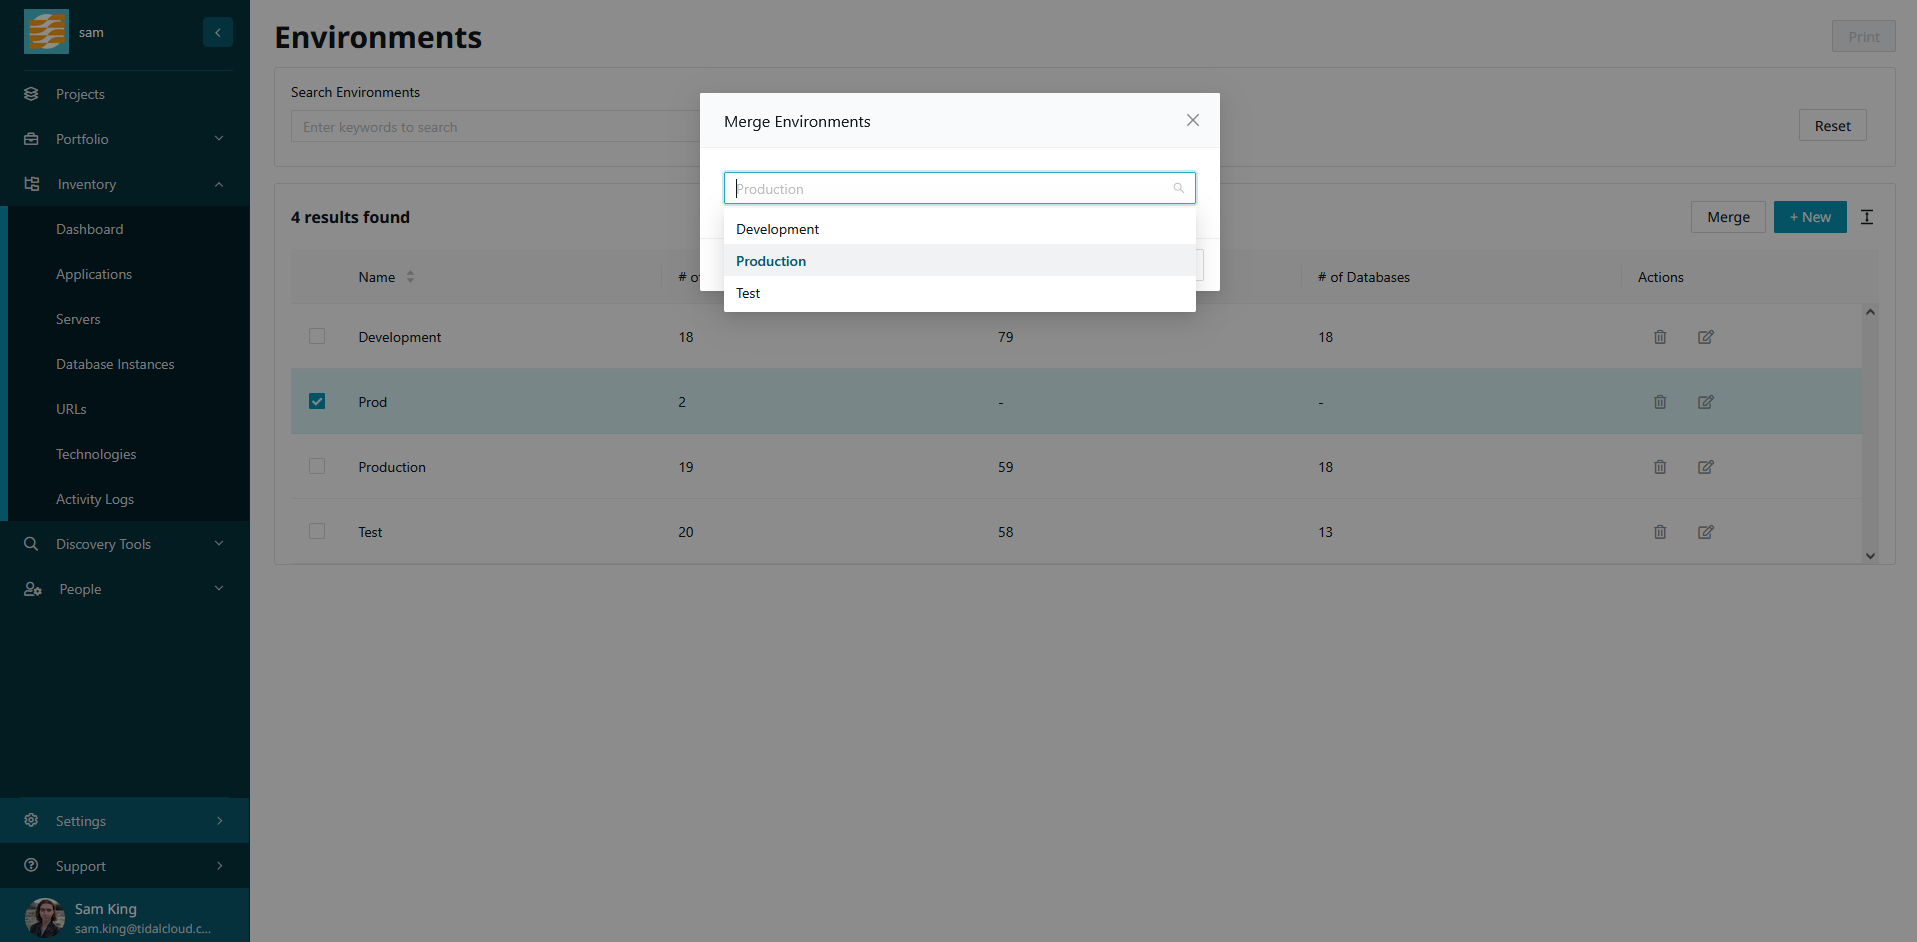
From the dropdown list, select the environment that you’d like to merge this environment into. For this example, we will select ‘Production’.
You will be shown a message explaining the changes that you’re about to make. If you’re satisfied, click ‘Merge’.

All records in the merged environment will be added to the target environment, and the merged environment will be deleted.
